25 DIY Halloween Jewelry Ideas
Make Halloween earrings, necklaces, bracelets, brooches, and last-minute accessories with beginner-friendly materials and clear styling options. Pick one focal motif, limit the palette, and keep every wearable edge smooth and comfortable.
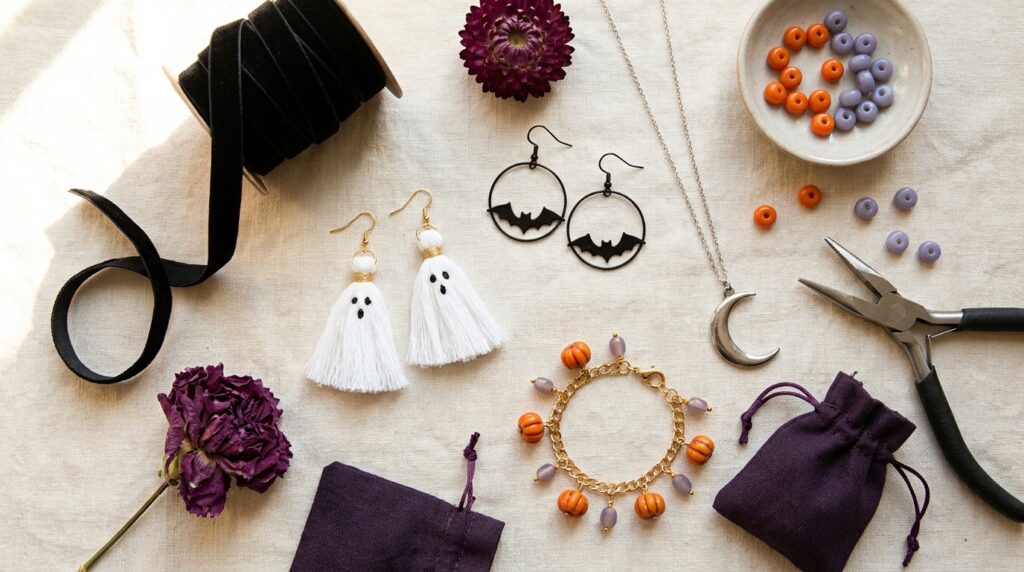
IMAGE PLACEHOLDER — IMG-17-01
Purpose: Hero image for the article
Suggested image: An editorial flat lay of handmade ghost earrings, a moon pendant, a pumpkin bracelet, black velvet ribbon, orange beads, and jewelry pliers on warm off-white linen; polished feminine Halloween styling, no text or logos.
Recommended size: 1200 × 800 px
Suggested ALT:
Placement: Directly below the hero introduction
Affiliate disclosure
This article may contain affiliate links. If you buy through a qualifying link, Trending Lifestyle Finds may earn a commission at no extra cost to you. The project ideas are editorial suggestions; no product has been personally tested unless explicitly stated.
Quick answer
The easiest DIY Halloween jewelry uses one recognizable motif—ghost, bat, pumpkin, spider, moon, or candy corn—combined with a simple base such as hoops, chain, elastic cord, ribbon, or a pin back. Beginners should start with lightweight charms, pre-drilled beads, two jewelry pliers, and a limited two- or three-color palette.
Before you begin
- Choose findings made for jewelry and check them for sharp edges.
- Use nickel-free or hypoallergenic components if you are sensitive to metal.
- Keep beads, magnets, and small charms away from children under three.
- Follow manufacturer directions for clay, adhesives, coatings, and tools.
- Make the finished piece comfortable enough for the planned event.
What you may need
You do not need every item for every project. Build a small kit around the idea you choose.
- Two chain-nose or flat-nose jewelry pliers
- Jump rings, headpins, eye pins, clasps, and earring findings
- Lightweight charms and beads
- Elastic cord, jewelry chain, ribbon, lace, or embroidery floss
- Jewelry wire and the correct cutter for that wire
- Polymer clay, felt, paper, or shrink plastic for selected projects
- Compatible craft adhesive and a protected, ventilated workspace
- Bead mat or tray, ruler, and small storage dishes
IMAGE PLACEHOLDER — IMG-17-02
Purpose: Supplies overview
Suggested image: A neat overhead arrangement of two jewelry pliers, jump rings, hooks, chain, velvet ribbon, black-orange-purple beads, felt, and small Halloween charms on a clean craft table; no branded packaging.
Recommended size: 1200 × 800 px
Suggested ALT: Jewelry-making supplies for DIY Halloween accessories
Placement: After the supplies list
Easy Halloween earrings
Start with lightweight findings and repeatable shapes. These five ideas are beginner-friendly ways to practice opening jump rings, making simple loops, and balancing a pair.
1. Ghost tassel earrings
Fold white embroidery floss into two small tassels, bind the tops, and add simple black eyes with a fabric-safe marker. Attach each tassel to an earring hook with a jump ring. Keep both tassels the same length for a polished pair, or make one slightly longer for a playful mismatched look.
2. Bat charm hoop earrings
Open a small jump ring sideways with two pliers, add a lightweight bat charm, then close it around a plain hoop. A single charm keeps the design wearable; two tiny charms create more movement. Choose smooth, lightweight components so the finished earrings do not pull on the ear.
3. Spider bead dangles
Use one larger bead for the body and a smaller bead for the head, then add short bent wire or headpin details to suggest legs. Connect the spider to an ear wire with a jump ring. Black glass beads feel dramatic, while purple or iridescent beads make the design less scary.
4. Candy corn bead drops
Stack white, orange, and yellow beads on a headpin, form a small loop at the top, and connect it to an ear hook. Repeat the same bead order for the second earring. Matte beads create a soft craft look; translucent beads give the familiar color palette a dressier finish.
5. Mini pumpkin clay studs
Shape tiny orange circles from lightweight polymer clay, score shallow pumpkin lines, and add a small green stem. Bake only according to the clay manufacturer’s directions, then attach flat-pad earring posts with a compatible adhesive. Let the adhesive cure fully before wearing.
IMAGE PLACEHOLDER — IMG-17-03
Purpose: Earrings collection
Suggested image: Five handmade Halloween earring concepts—ghost tassels, bat hoops, spider dangles, candy corn beads, and pumpkin studs—photographed as separate pairs on a lavender jewelry board.
Recommended size: 1200 × 800 px
Suggested ALT: Five handmade DIY Halloween earring ideas
Placement: After the easy halloween earrings section
Spooky necklaces and chokers
Use one clear focal point and let chain length, cord, or ribbon set the mood. Never make a choker tight; it should fit comfortably and release safely.
6. Crescent moon and black cat pendant
Pair a crescent-moon charm with a small black-cat charm on one chain. Place the cat slightly lower so both silhouettes remain visible. This design works well with silver for a cool moonlit look or antique brass for a vintage Halloween mood.
7. Tiny potion-bottle necklace
Fill a miniature sealed vial with glitter, sequins, or colored sand—never an unknown liquid—then secure the cap according to the vial maker’s instructions. Add a chain through the top loop. Label it with a tiny handwritten tag such as “Moon Dust” for a storybook detail.
8. Spiderweb pendant
Use a ready-made web charm or create a simple web with thin craft wire around a circular frame. Keep every cut end tucked inward and smooth. Add one contrasting bead as the spider, then hang the pendant from a black cord or delicate chain.
9. Skeleton-key charm necklace
Choose one lightweight skeleton-key charm and add a small crystal, skull, or ribbon accent near the bail. A longer chain gives it a costume-friendly look, while a shorter chain feels more like everyday October jewelry. Check that the key has no sharp edges.
10. Velvet ribbon cameo choker
Thread a Halloween cameo, moon charm, or decorative centerpiece onto soft velvet ribbon. Finish the ends with ribbon clamps and a clasp, or use an adjustable tie closure. Measure for a comfortable fit and avoid making any neck accessory tight.
IMAGE PLACEHOLDER — IMG-17-04
Purpose: Necklaces and chokers collection
Suggested image: A crescent moon pendant, sealed potion vial necklace, spiderweb pendant, skeleton key necklace, and velvet cameo choker styled on warm off-white fabric.
Recommended size: 1200 × 800 px
Suggested ALT: DIY Halloween necklaces and velvet choker ideas
Placement: After the spooky necklaces and chokers section
Bracelets for parties and gifts
Bracelets are easy to personalize by color, bead style, and charm spacing. Lay out the full sequence before fastening the first component.
11. Mixed Halloween charm bracelet
Combine a few spaced charms—such as a ghost, pumpkin, bat, and moon—on a chain bracelet. Plan the order before attaching anything so the weight is balanced. For a detailed construction walkthrough, follow the dedicated Halloween charm bracelet tutorial.
12. Orange-and-black stretch bracelet
Arrange orange, black, white, and metallic spacer beads on elastic cord. Test the fit before tying, then finish the knot according to the cord manufacturer’s guidance. Keep the palette limited so the bracelet looks intentional rather than crowded.
13. Woven friendship bracelet
Use black, purple, and pumpkin-orange embroidery floss to knot a striped or chevron bracelet. Add one small charm at the closure if desired. This is a low-tool project that can be customized for friends, party favors, or coordinated costume accessories.
14. Memory-wire wrap bracelet
Slide beads and a few lightweight charms onto bracelet memory wire, leaving enough room at both ends to form secure loops. Use memory-wire cutters rather than ordinary jewelry cutters. Alternate small and medium beads so the wrap remains comfortable and flexible.
15. Layered chain bracelet
Connect two or three lightweight chains of different textures to the same clasp, then add one focal charm. Keep the chains close in length to reduce tangling. Antique-silver chain feels gothic, while gold with black enamel gives the idea a polished party look.
IMAGE PLACEHOLDER — IMG-17-05
Purpose: Bracelets collection
Suggested image: A charm bracelet, orange-black stretch bracelet, woven friendship bracelet, memory-wire wrap, and layered chain bracelet arranged on a charcoal display.
Recommended size: 1200 × 800 px
Suggested ALT: Five DIY Halloween bracelet ideas
Placement: After the bracelets for parties and gifts section
Pins, brooches, and statement pieces
These ideas work well when you want Halloween detail without committing to a full costume. Smooth every edge and test the fastening before wearing.
16. Beaded spider brooch
Build a small spider from two beads and short wire legs, then attach it securely to a brooch finding. Curve each wire end inward so nothing snags. Pin it to a jacket lapel, bag, or hat rather than directly onto delicate fabric.
17. Felt bat collar pins
Cut two matching bats from stiff black felt, add subtle stitched or beaded details, and glue or sew a pin back to each. Wear one on each collar point and connect them with a removable chain for a coordinated gothic detail.
18. Ghost shrink-plastic pins
Draw small ghost shapes on shrink plastic, cut them with smooth edges, and shrink them only according to the product directions with adult supervision where appropriate. Attach the finished pieces to pin backs after they cool completely.
19. Pumpkin ribbon rosette brooch
Gather orange ribbon into a circular rosette, secure the center, and add a green felt leaf or tiny stem. Cover the back neatly with felt before attaching the brooch finding. This soft design works especially well on sweaters, tote bags, and costume capes.
20. Wire-wrapped statement ring
Wrap craft wire around a ring mandrel to form an adjustable band, then add a small bead or charm at the top. File or tuck every cut end so it cannot scratch. If wirework is new to you, practice with inexpensive soft craft wire before using decorative wire.
IMAGE PLACEHOLDER — IMG-17-06
Purpose: Pins and statement pieces
Suggested image: A beaded spider brooch, felt bat collar pins, ghost pins, pumpkin rosette, and wire-wrapped ring styled on a purple jacket and accessory tray.
Recommended size: 1200 × 800 px
Suggested ALT: DIY Halloween brooches pins and statement ring
Placement: After the pins, brooches, and statement pieces section
Last-minute and upcycled jewelry
Use familiar craft materials for quick accessories, but choose components designed for wearable use and let adhesives or finishes cure completely.
21. Eyeball bead pendant
Place a painted eyeball bead on a headpin, form a loop, and hang it from a simple cord. Let the single graphic bead be the focal point. Pair it with plain black clothing for a quick costume accent that does not require a full themed outfit.
22. Lace cuff bracelet
Cut a piece of wide black lace to wrap comfortably around the wrist, finish the raw edges, and add snaps, ribbon ties, or a jewelry clasp. Sew on a small cameo or charm if you want a focal point. Make sure the closure stays secure without pinching.
23. Paper-bead necklace
Roll strips of orange, purple, black, and patterned paper into beads, seal them with a craft-safe finish, and string them after they dry. Mix paper beads with simple wooden spacers to keep the necklace light. Avoid wearing paper jewelry in rain or near open flames.
24. Pom-pom monster charm
Glue felt eyes and tiny teeth to a small pom-pom, then attach it to a loop or charm holder after the adhesive has fully cured. Use it as a necklace charm, zipper pull, or bag charm. Keep the face simple so it reads clearly at a small scale.
25. Glow-bead bracelet
String commercially made glow or UV-reactive beads with black spacers for an evening accessory. Confirm the beads are intended for jewelry use and follow their safety instructions. Because loose beads and charms can be choking hazards, this is not a project for children under three.
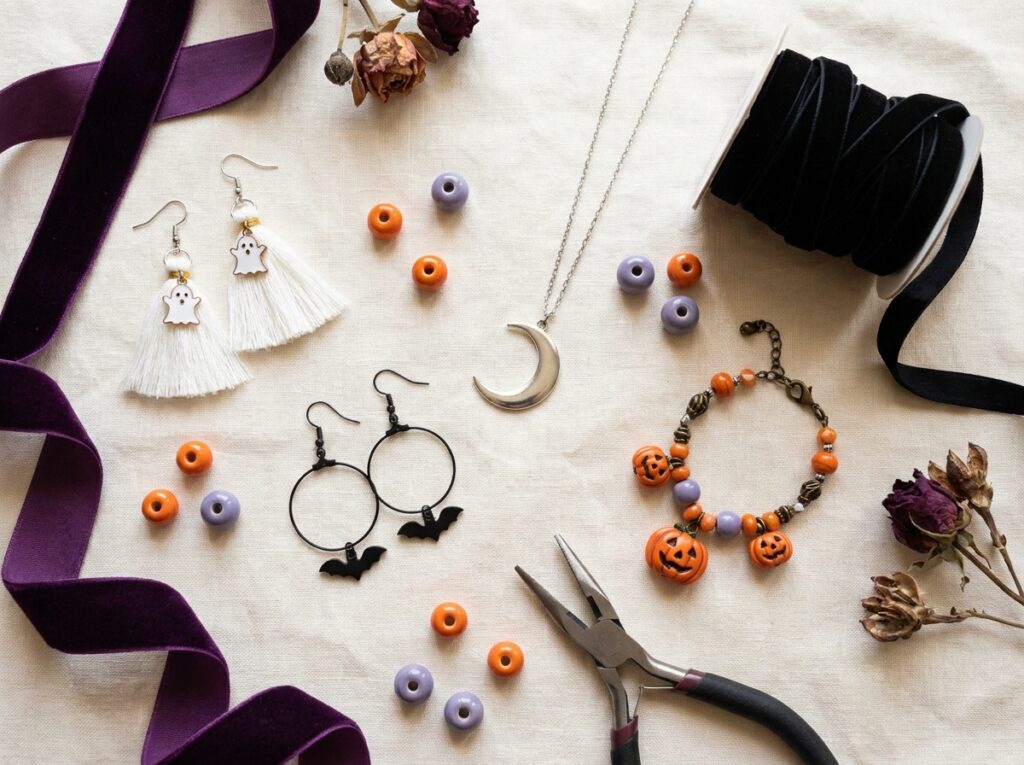
IMAGE PLACEHOLDER — IMG-17-07
Purpose: Last-minute projects
Suggested image: An eyeball pendant, lace cuff, paper-bead necklace, pom-pom monster charm, and glow-bead bracelet arranged as quick craft ideas without packaging.
Recommended size: 1200 × 800 px
Suggested ALT: Last-minute DIY Halloween jewelry ideas
Placement: After the last-minute and upcycled jewelry section
How to make the projects look polished
- Repeat one finish: use mostly silver, gold, gunmetal, or antique brass rather than mixing every metal tone.
- Limit the palette: black plus one accent color often looks more intentional than a rainbow of novelty beads.
- Balance the weight: keep earrings light and distribute bracelet charms around the wrist.
- Hide construction: trim thread ends, close jump rings fully, and cover the back of brooches neatly.
- Style with restraint: pair one statement piece with simpler accessories. For seasonal combinations, see trending Halloween earrings and necklaces and DIY Halloween nail ideas.
Wearability and safety notes
Check every clasp, jump ring, pin back, and cut wire end before wearing. The American Academy of Dermatology notes that jewelry can trigger nickel reactions and recommends nickel-free or hypoallergenic options for people who are sensitive. Stop wearing a piece if it causes irritation and seek medical advice for a persistent or severe reaction.
Small jewelry components can create choking and other hazards for young children. The U.S. Consumer Product Safety Commission identifies risks in children’s jewelry including small metal parts, magnets, nickel sensitization, hazardous coatings, and strangulation. Adult supervision does not make every project age-appropriate.
Keep this beginner article to cold connections, stringing, clay, felt, and standard craft assembly. Soldering, patinas, etching, casting, and solvent-heavy processes need additional training, ventilation, protective equipment, and material-specific precautions.
Sources for final safety review
Frequently asked questions
What is the easiest Halloween jewelry project for a beginner?
A stretch-bead bracelet or charm hoop earrings are usually the simplest because they use a short materials list and repeatable assembly. Choose large, easy-to-handle components and practice opening jump rings sideways rather than pulling them apart.
How can I make Halloween jewelry without special tools?
Try a woven friendship bracelet, felt collar pins, a ribbon choker, paper beads, or a lace cuff. Scissors, a ruler, and the material-appropriate adhesive or sewing supplies may be enough, but always follow product directions.
Which colors make Halloween jewelry look stylish?
Black with pumpkin orange is classic; black with lavender feels softer; burgundy with antique gold feels gothic; and white with silver makes ghost or moon motifs look clean. Limiting the design to two or three colors helps it feel coordinated.
Can children make these projects?
Some paper, felt, floss, or large-bead projects may suit older children with close adult supervision. Small beads, magnets, sharp tools, wire ends, ovens, chemicals, and tight neck accessories require extra caution and may be unsuitable. Check every material’s age guidance.
How do I keep handmade earrings from feeling heavy?
Use lightweight charms, small tassels, hollow shapes, and fewer beads. Weigh or compare both earrings before finishing and avoid stacking several dense components on one hook.
IMAGE PLACEHOLDER — IMG-17-08
Purpose: Closing lifestyle image
Suggested image: A woman shown from shoulders down wearing lightweight bat hoop earrings and a crescent-moon necklace with a polished black-and-lavender Halloween outfit; natural editorial lighting, no logos or text.
Recommended size: 1200 × 800 px
Suggested ALT: Woman styling handmade bat earrings and moon necklace for Halloween
Placement: Before the related-articles section
Related articles
Continue planning your accessories:
Final takeaway
Start with one motif and one technique, then repeat colors and finishes across the piece. A simple ghost tassel, charm bracelet, ribbon choker, or paper-bead necklace can feel finished when the components are lightweight, closures are secure, and every edge is smooth.
Editorial status: REVISE until the Elementor JSON is imported in Elementor Pro 4.3.2, placeholders are replaced, affiliate destinations are supplied, mobile layout is checked, and final safety/source review is complete.